


Learning
15 Apr, 2025
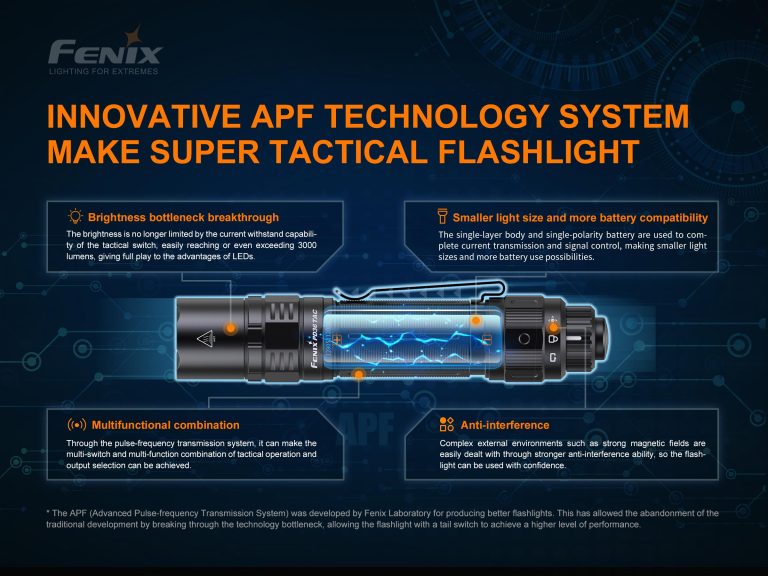
APF System

Source: https://fenix.ua/ua/blog/vybrat-fonar-dlya-atmosfernykh-nochnykh-semok--fenixua/
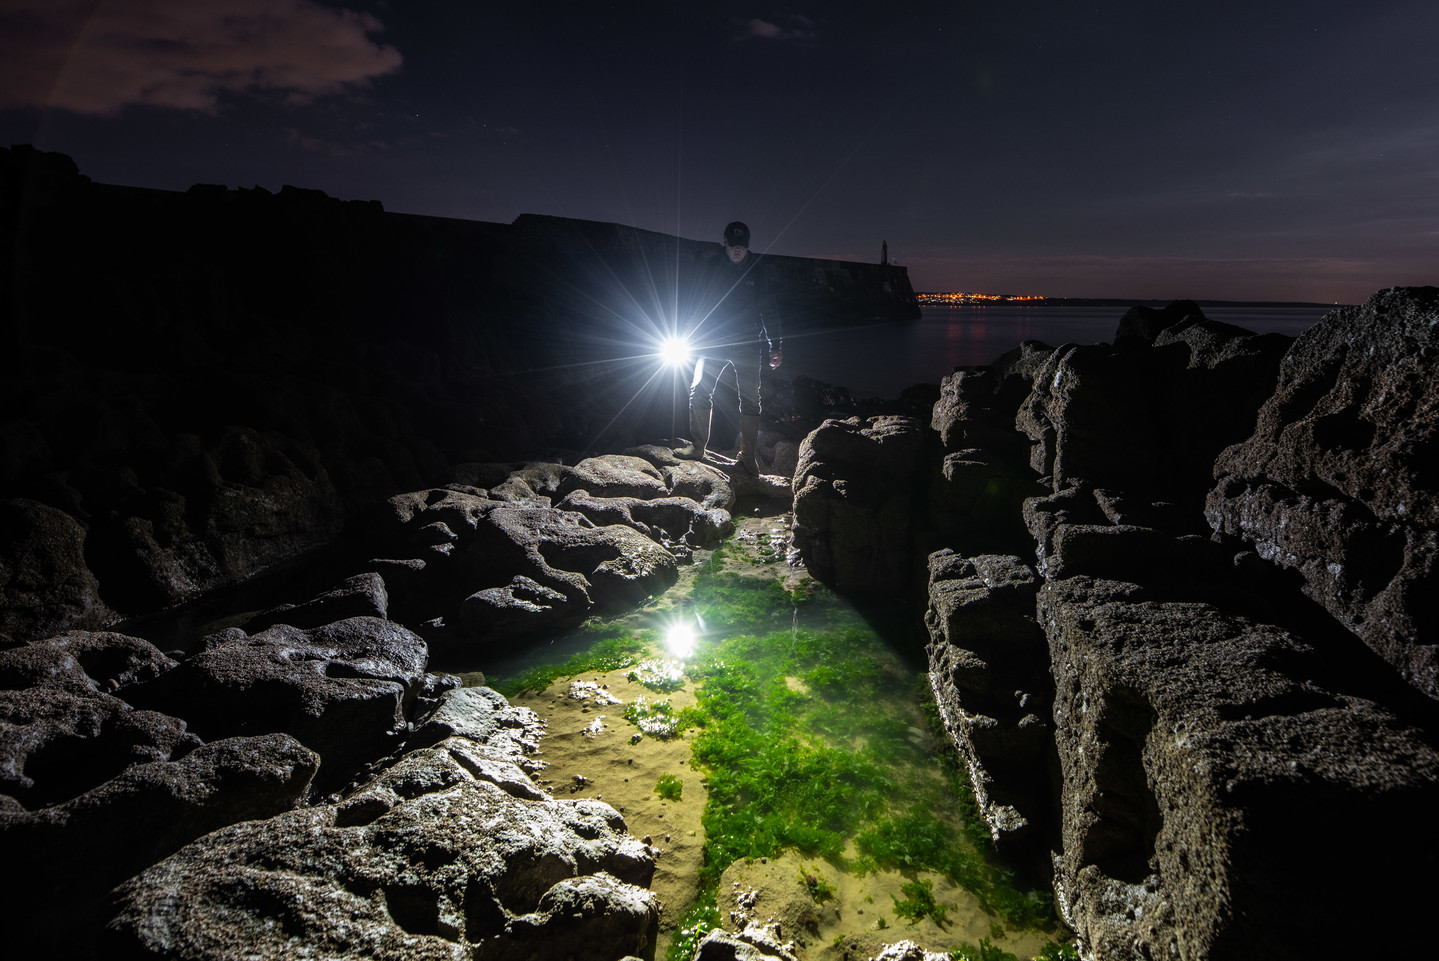
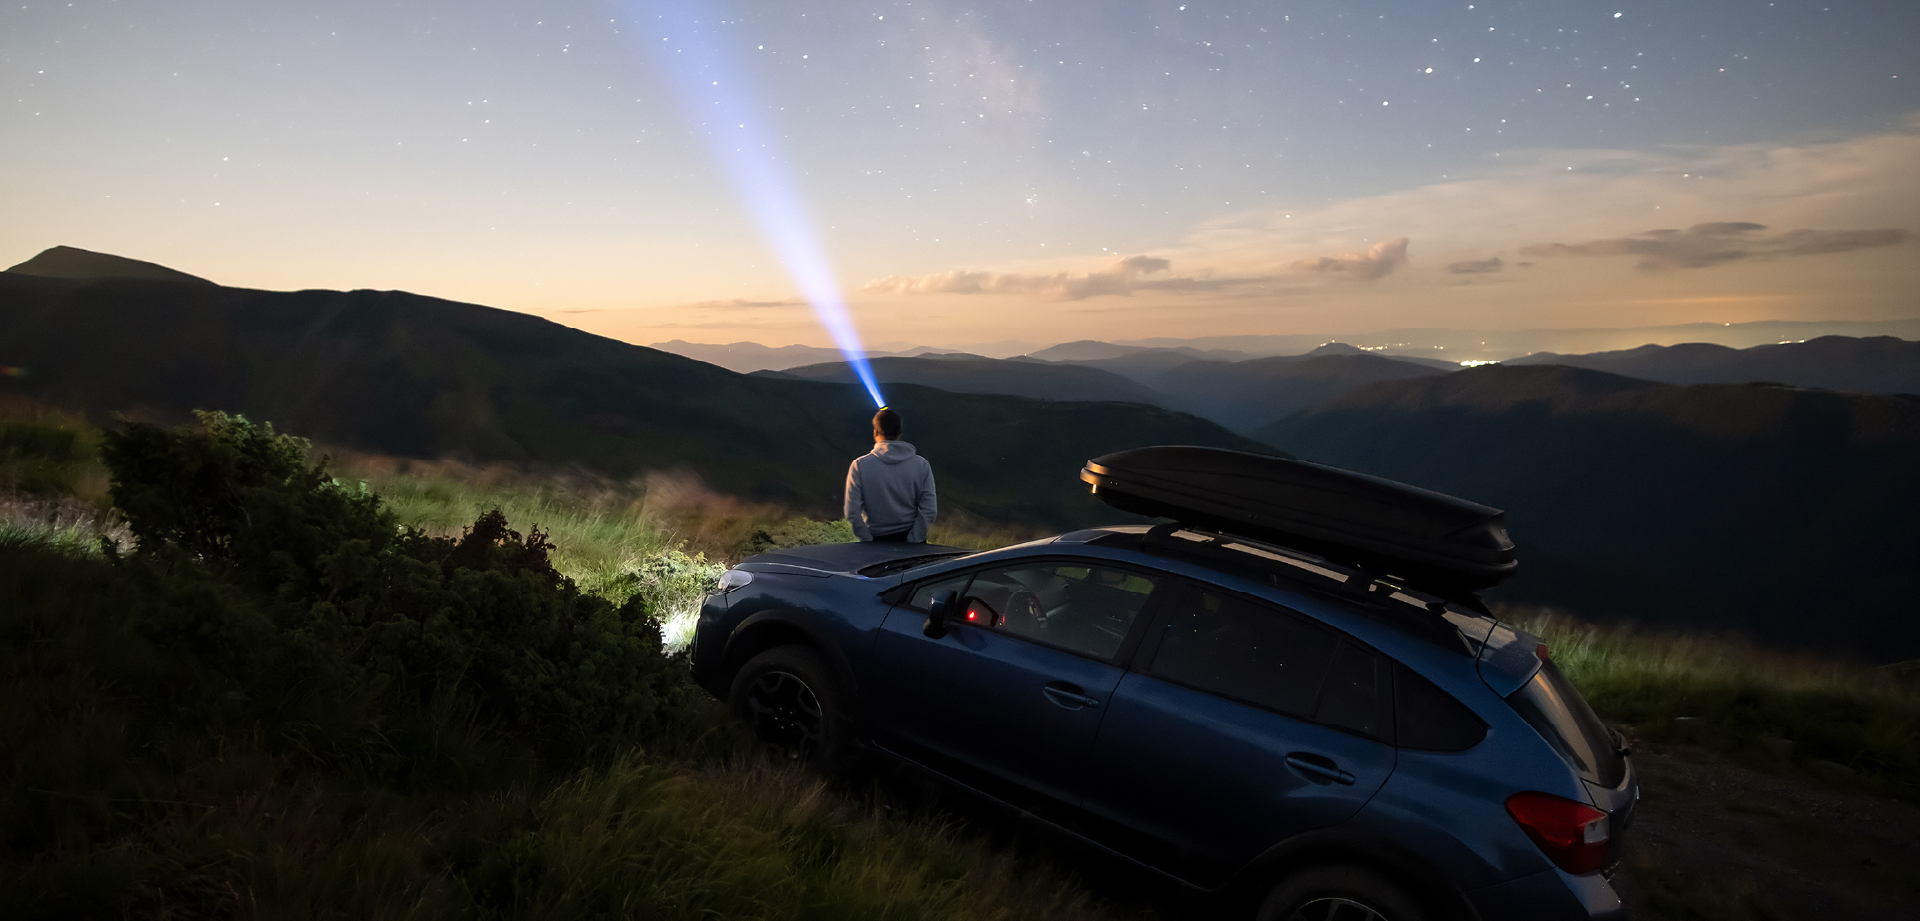
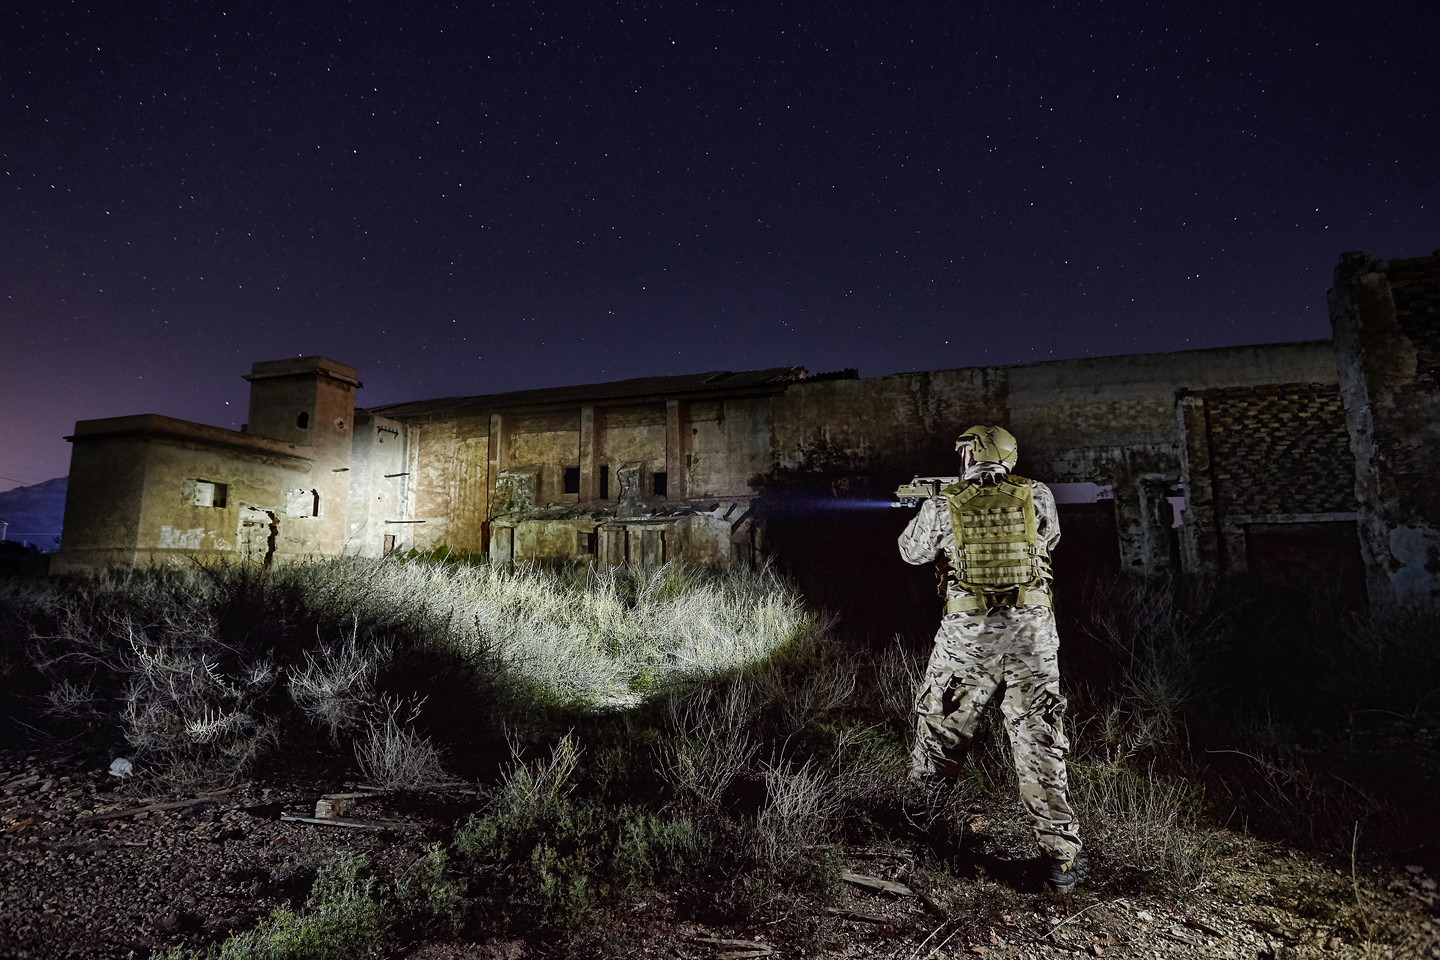
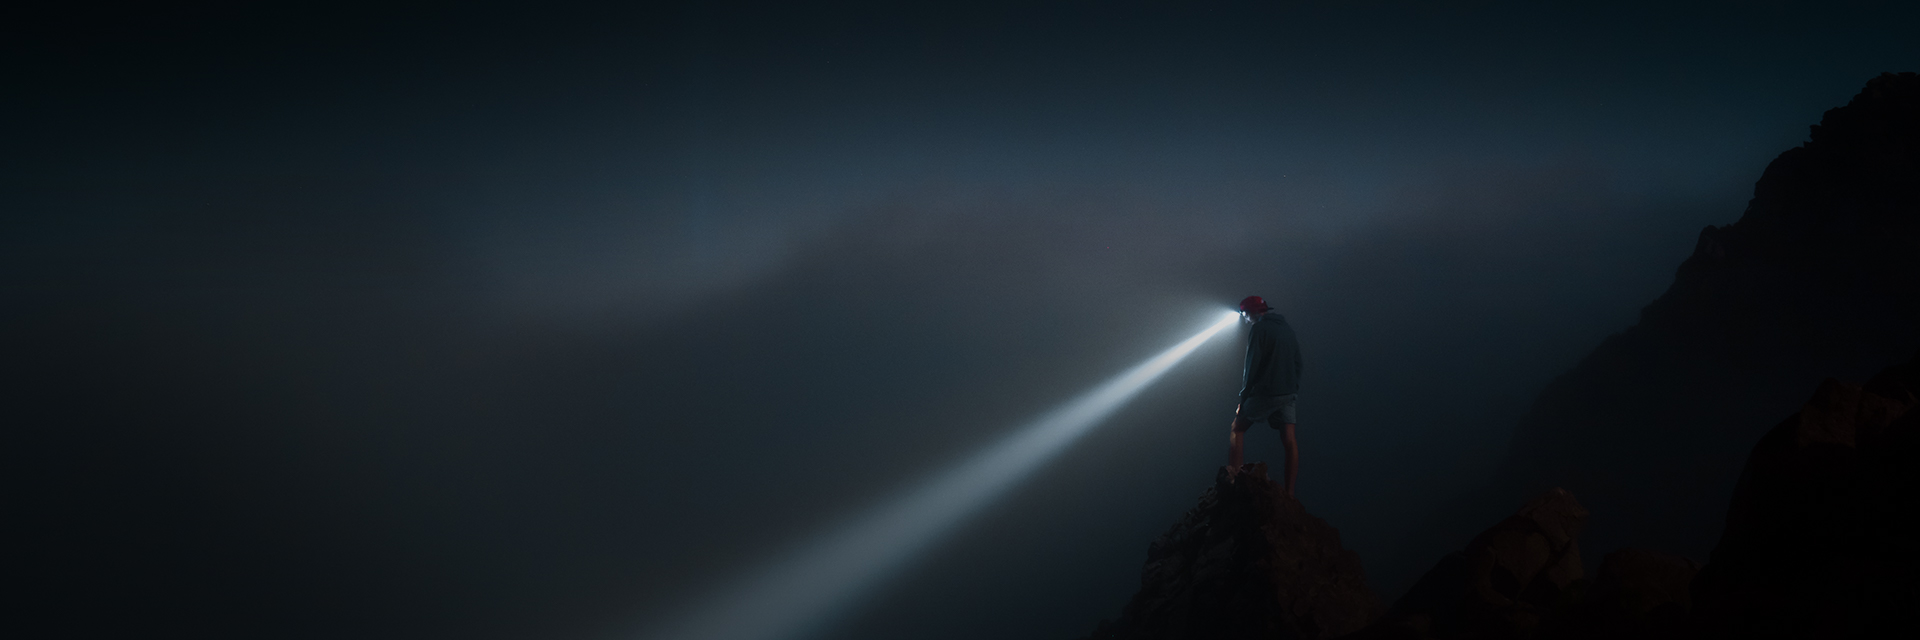
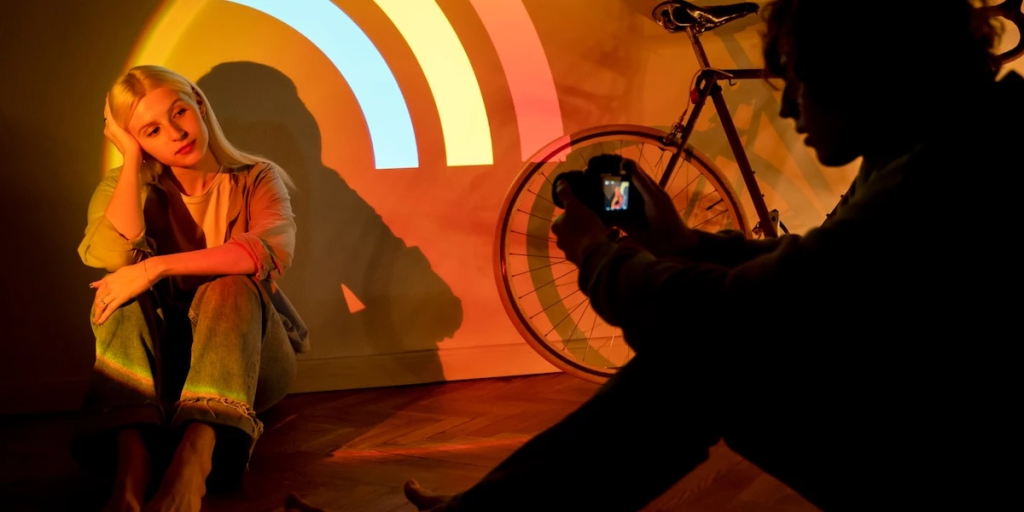
Night photography is a game of light, where every ray becomes a highlight and shadows serve as pauses between words. The lens captures not just a frame, but a mood, and when you have the right light at your disposal, you stop merely illuminating and start truly directing.
Not all lights are equally useful for shooting. It matters how the light converges into a spot, how softly it falls at the edges, whether it casts a green tint, and other nuances. A Fenix lighting for cameras and camcorders is a full-fledged tool that you need to know how to choose to create high-quality content.
Below, we’ll cover the essentials: what color temperature, CRI, and beam pattern you need; which attachments and diffusers will come in handy on location; and why battery life is just as important as the light’s specifications.
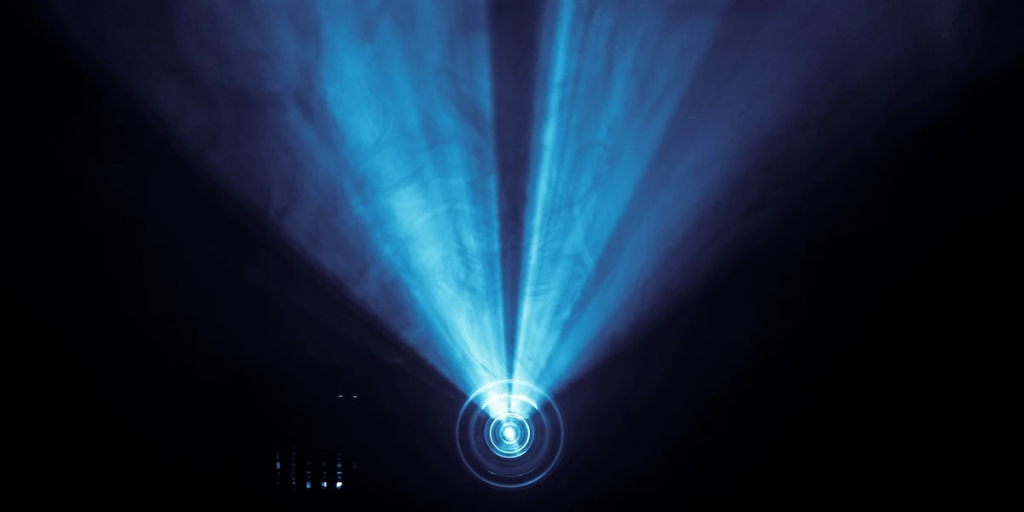
At first, LED lights were viewed solely as “utility lighting.” They weren’t used in shots because their beam degraded the image quality. Early LEDs emitted a cool blue light with a low CRI, which severely distorted natural colors. The image was also marred by the flickering of PWM drivers, which left streaks across the frame.
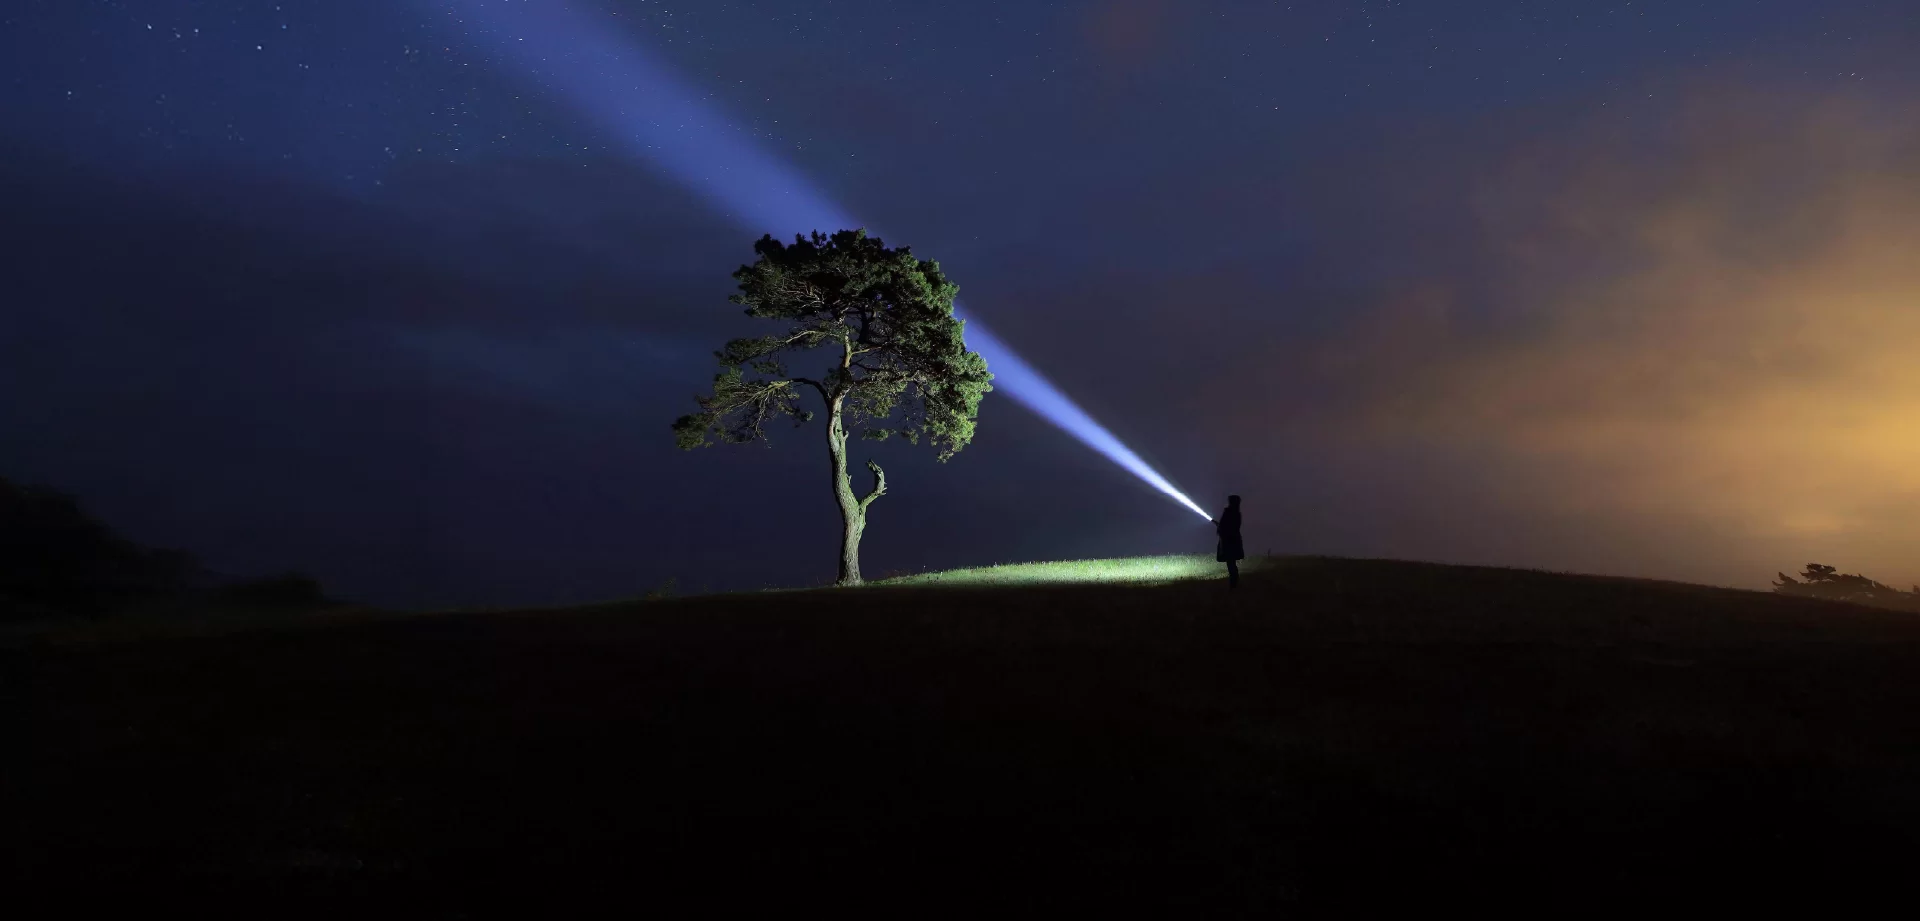
The situation was turned around by the advent of diodes with a high color rendering index (90+), neutral light temperatures of 4000–5000K with a pleasant tone, and constant-current drivers with no visible flickering. Optics moved away from pronounced hotspots toward TIR lenses and smooth reflectors that produce a clean light spot.
At the same time, other features have improved: the ability to run on rechargeable batteries, built-in thermal protection, and removable accessories. For content creators, this has opened up new possibilities: using the flashlight as a practical light source that makes the shot look richer without distortion.
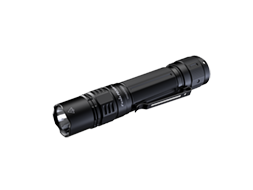
But there’s an important distinction: an EDC flashlight and a flashlight for photography are not the same thing:
An “everyday carry” model is all about maximum lumens, long-range illumination, and resistance to external factors;
A flashlight for photography is about light quality, beam characteristics, and the ability to easily adjust settings for specific tasks.
To help you avoid sudden drops in brightness and the appearance of streaks in your images, we’ll break down the factors that affect the atmosphere of night photography and explain what pitfalls to watch out for.
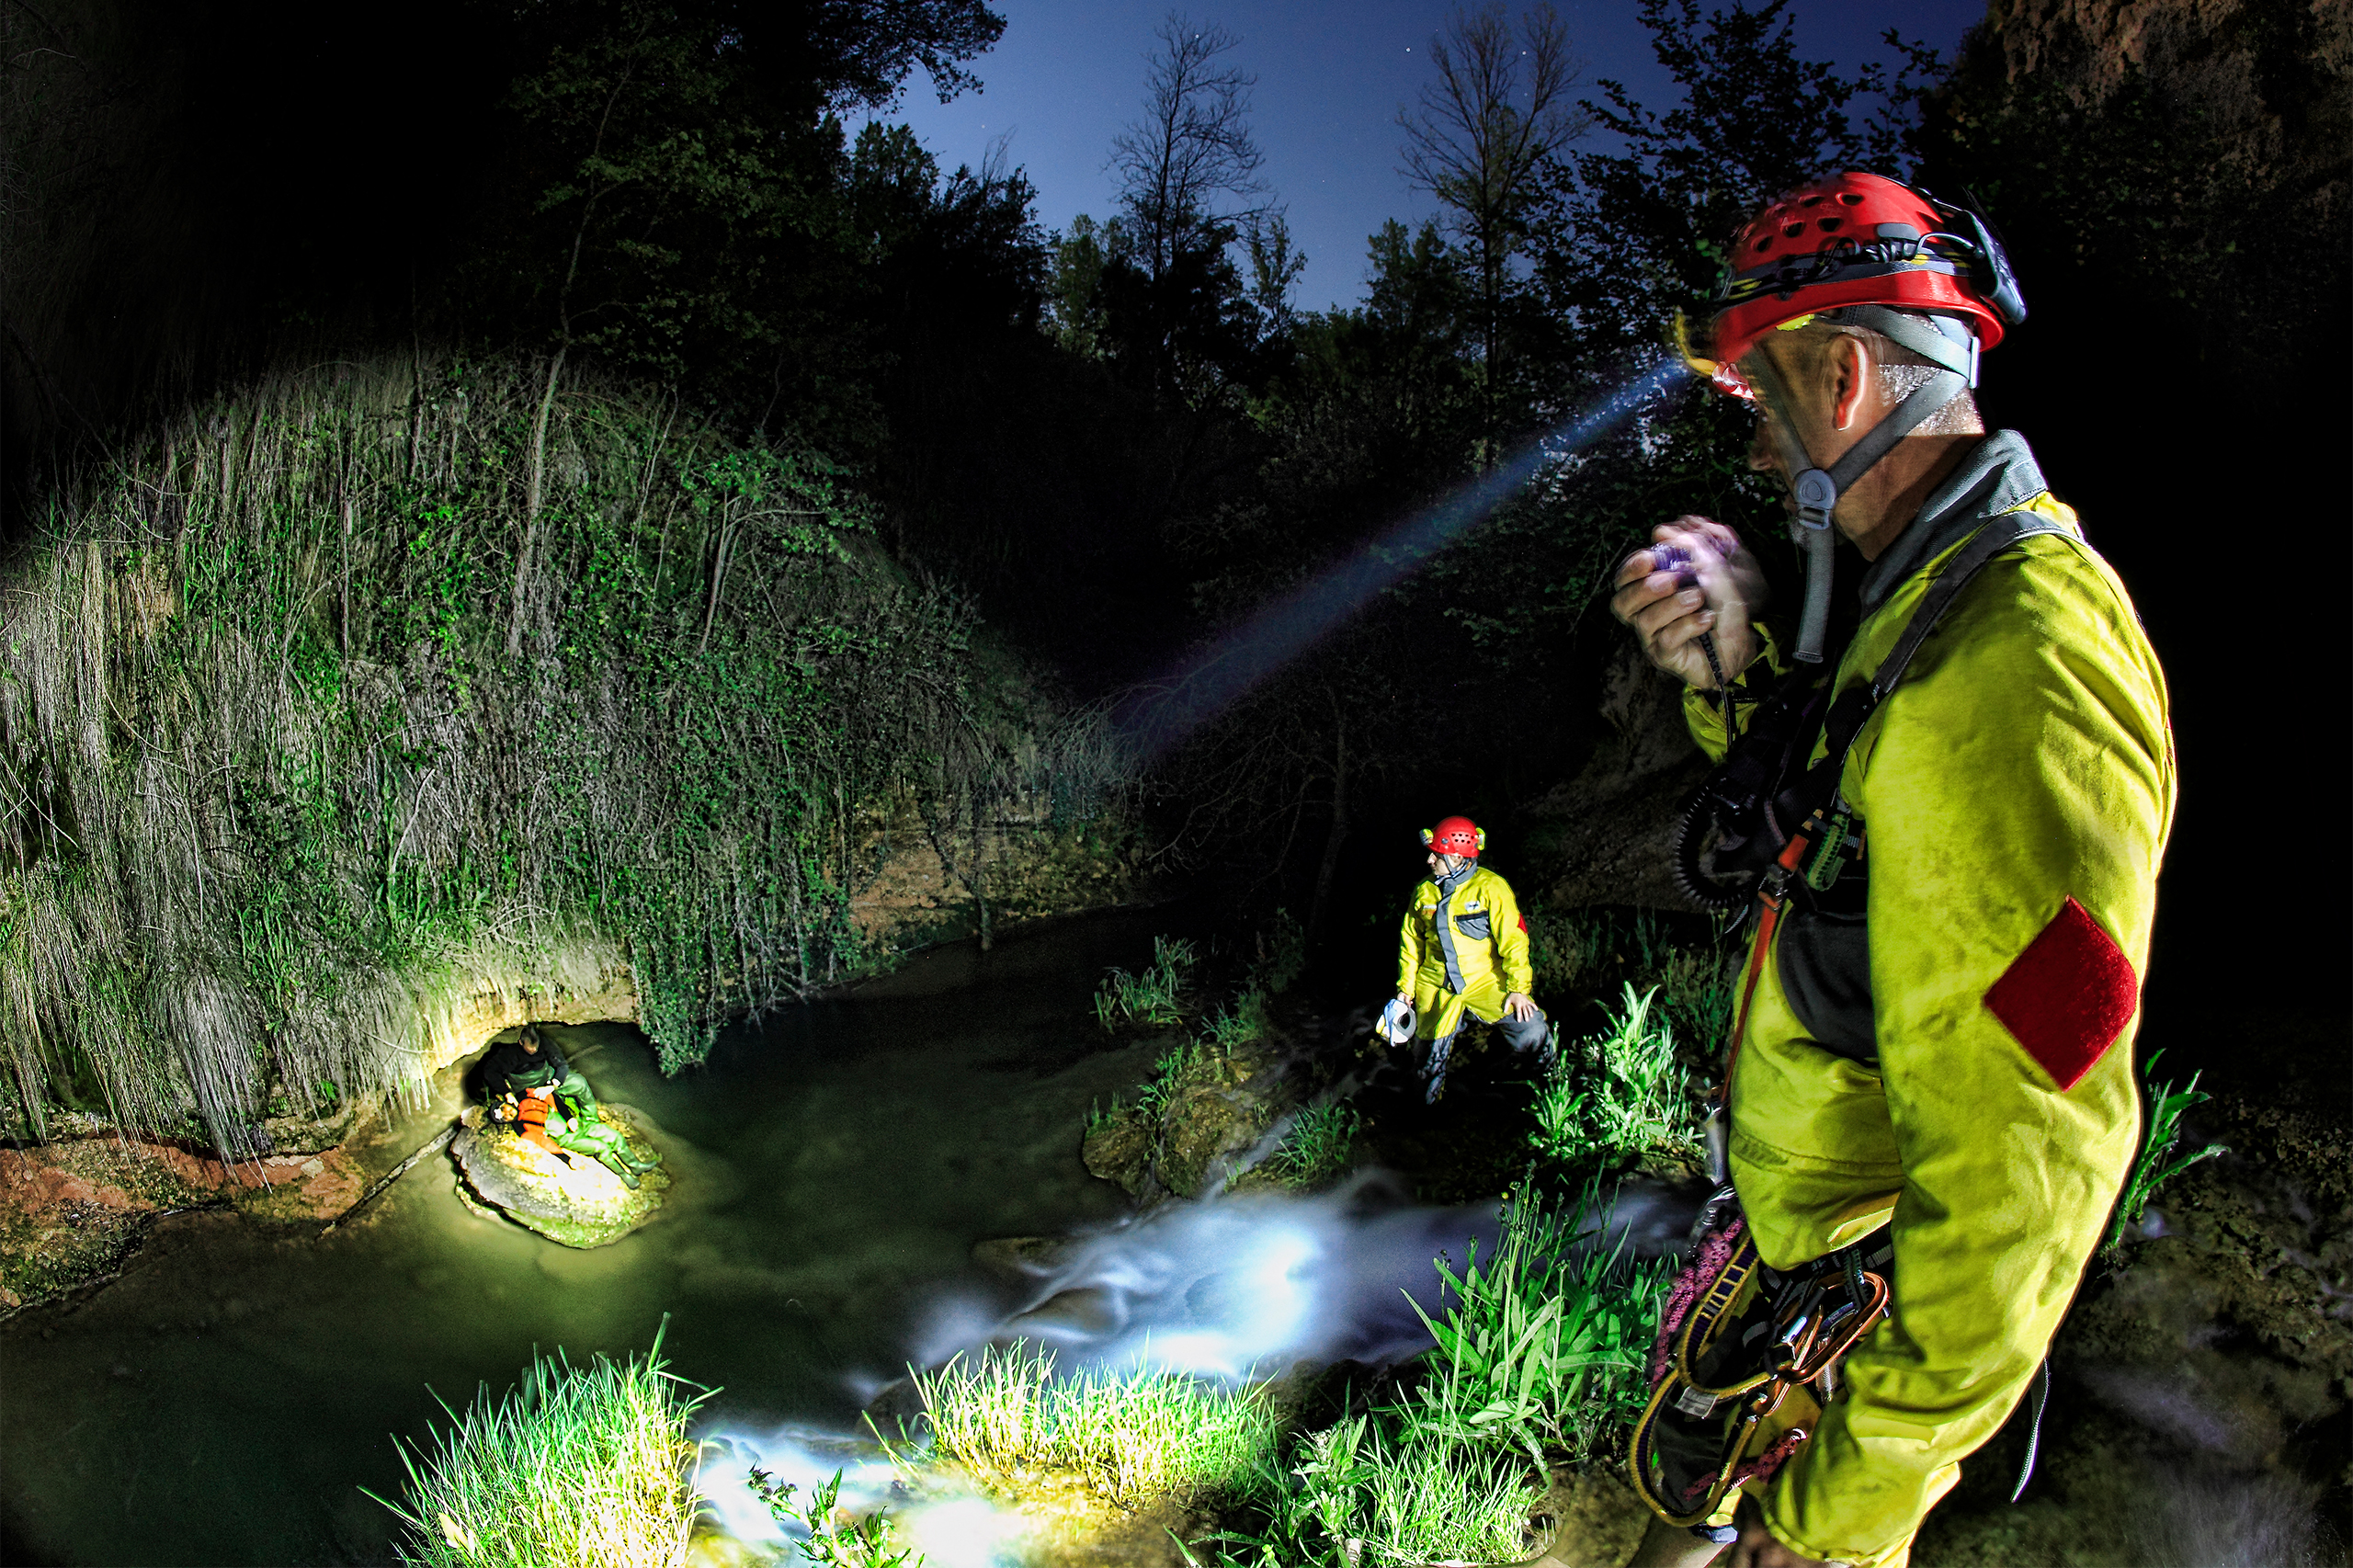
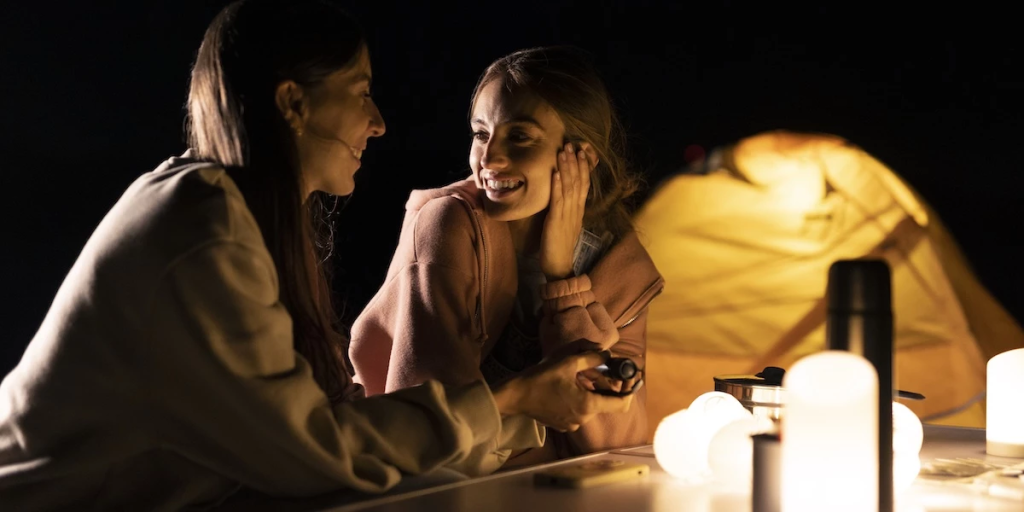
Lighting in the frame provides predictability: you know where the viewer’s attention will focus, where secondary elements will fade into the background, and how the images will flow seamlessly during editing. Lighting guides the viewer’s attention, sculpts form, creates a gradation of shadows, and maintains continuity between takes.
Lighting for photography and video affects the following factors:
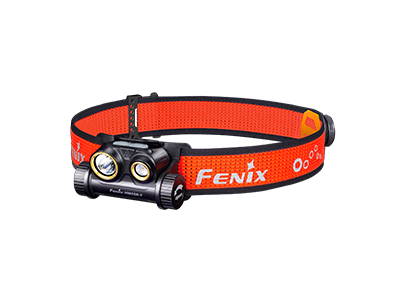
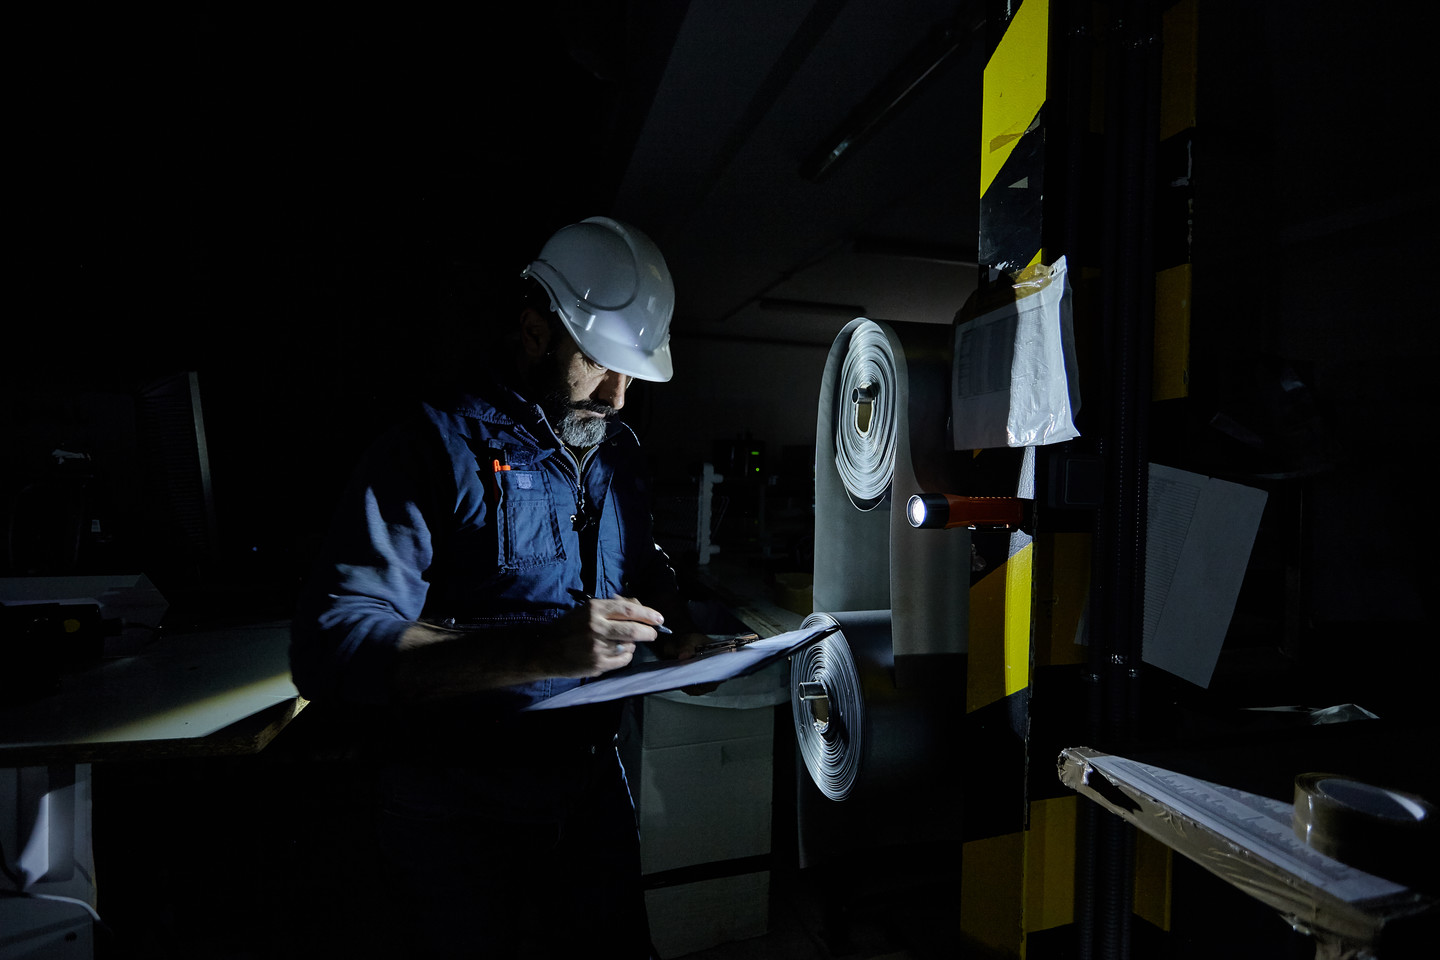
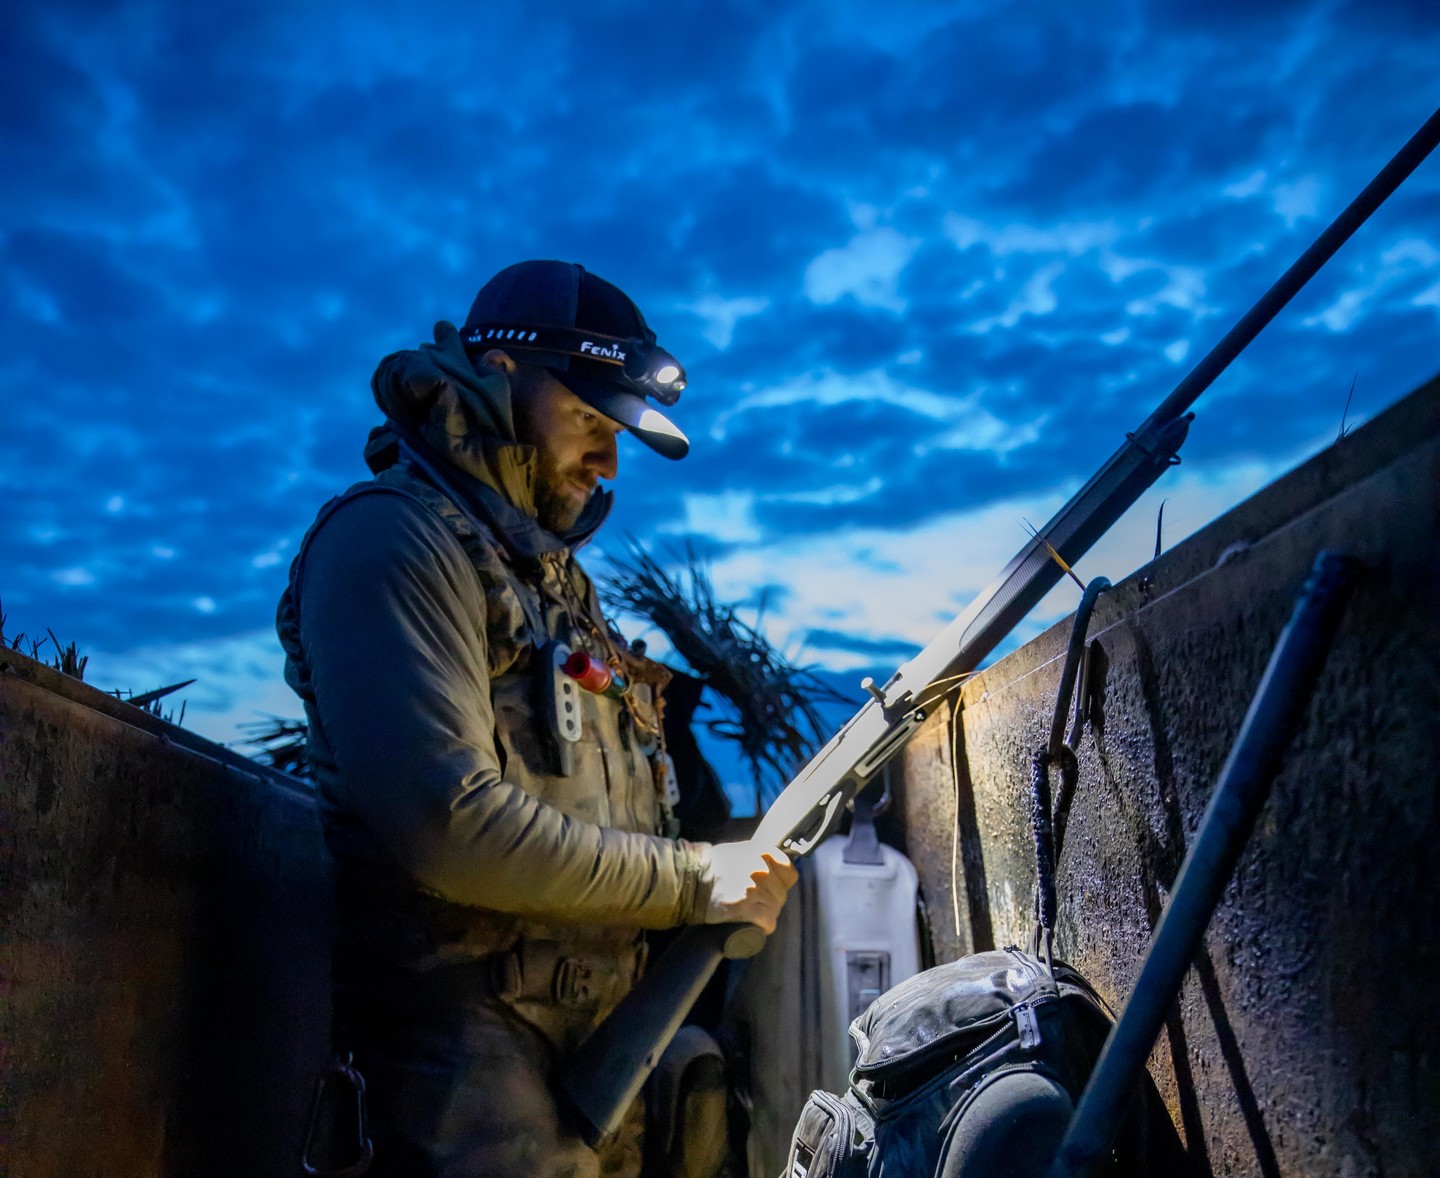
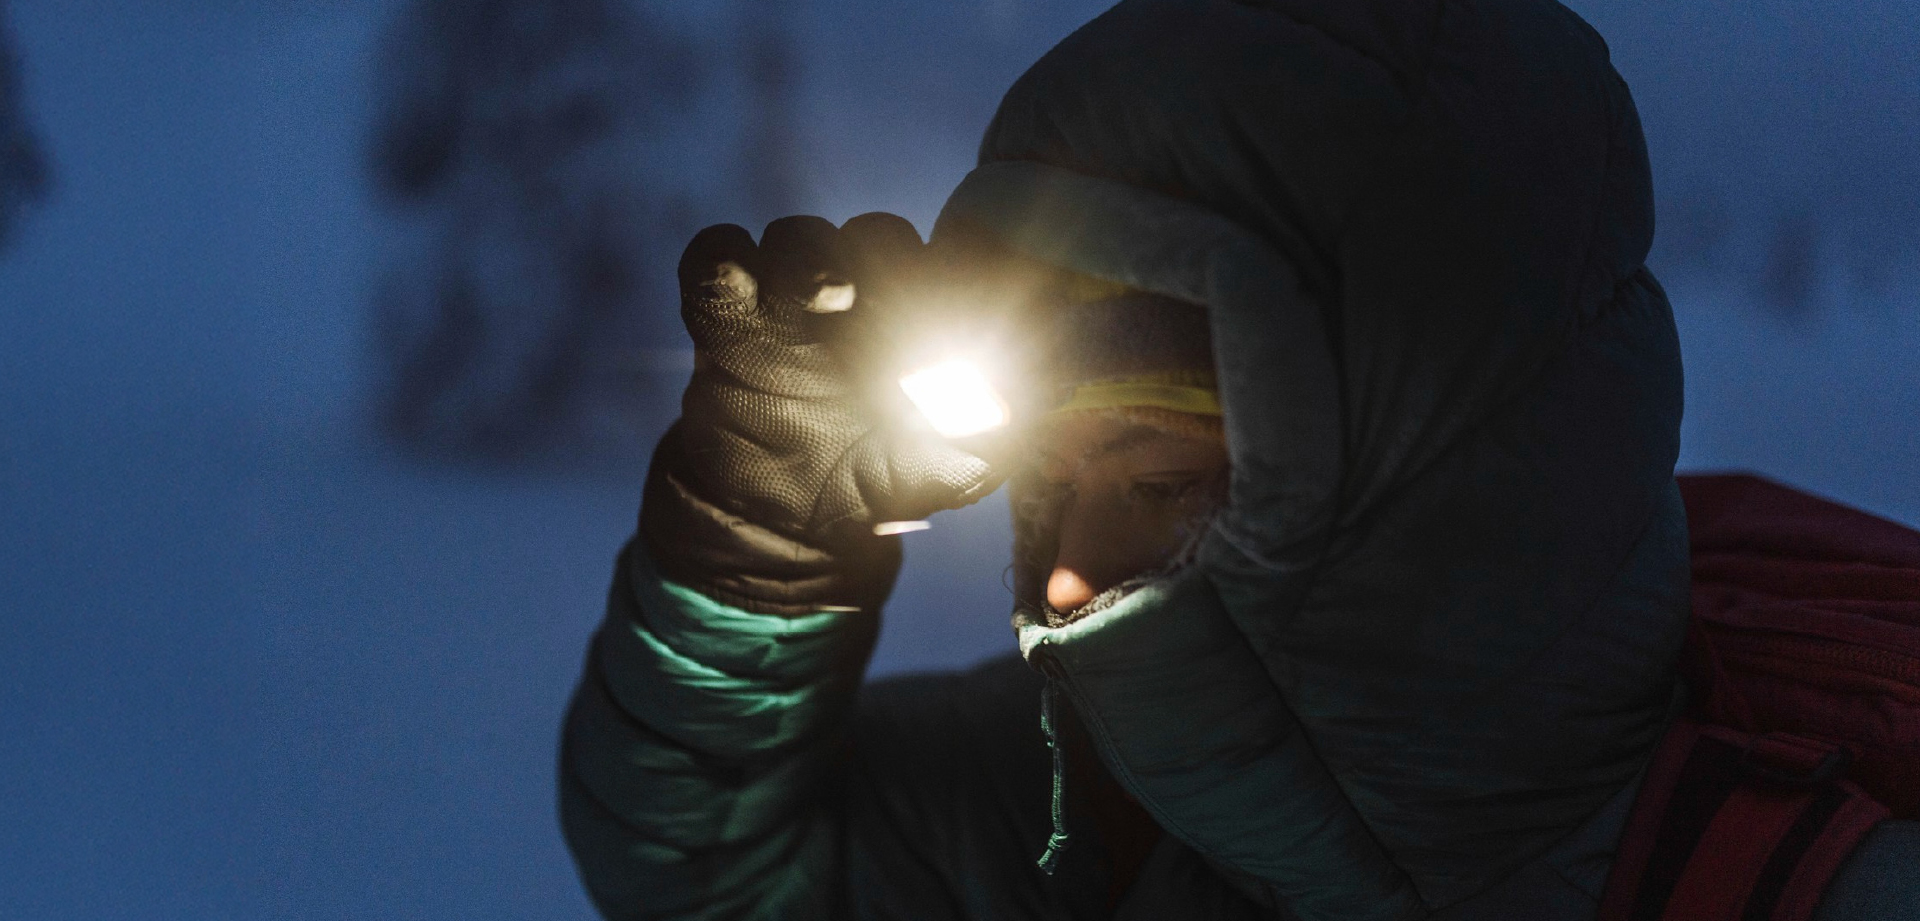
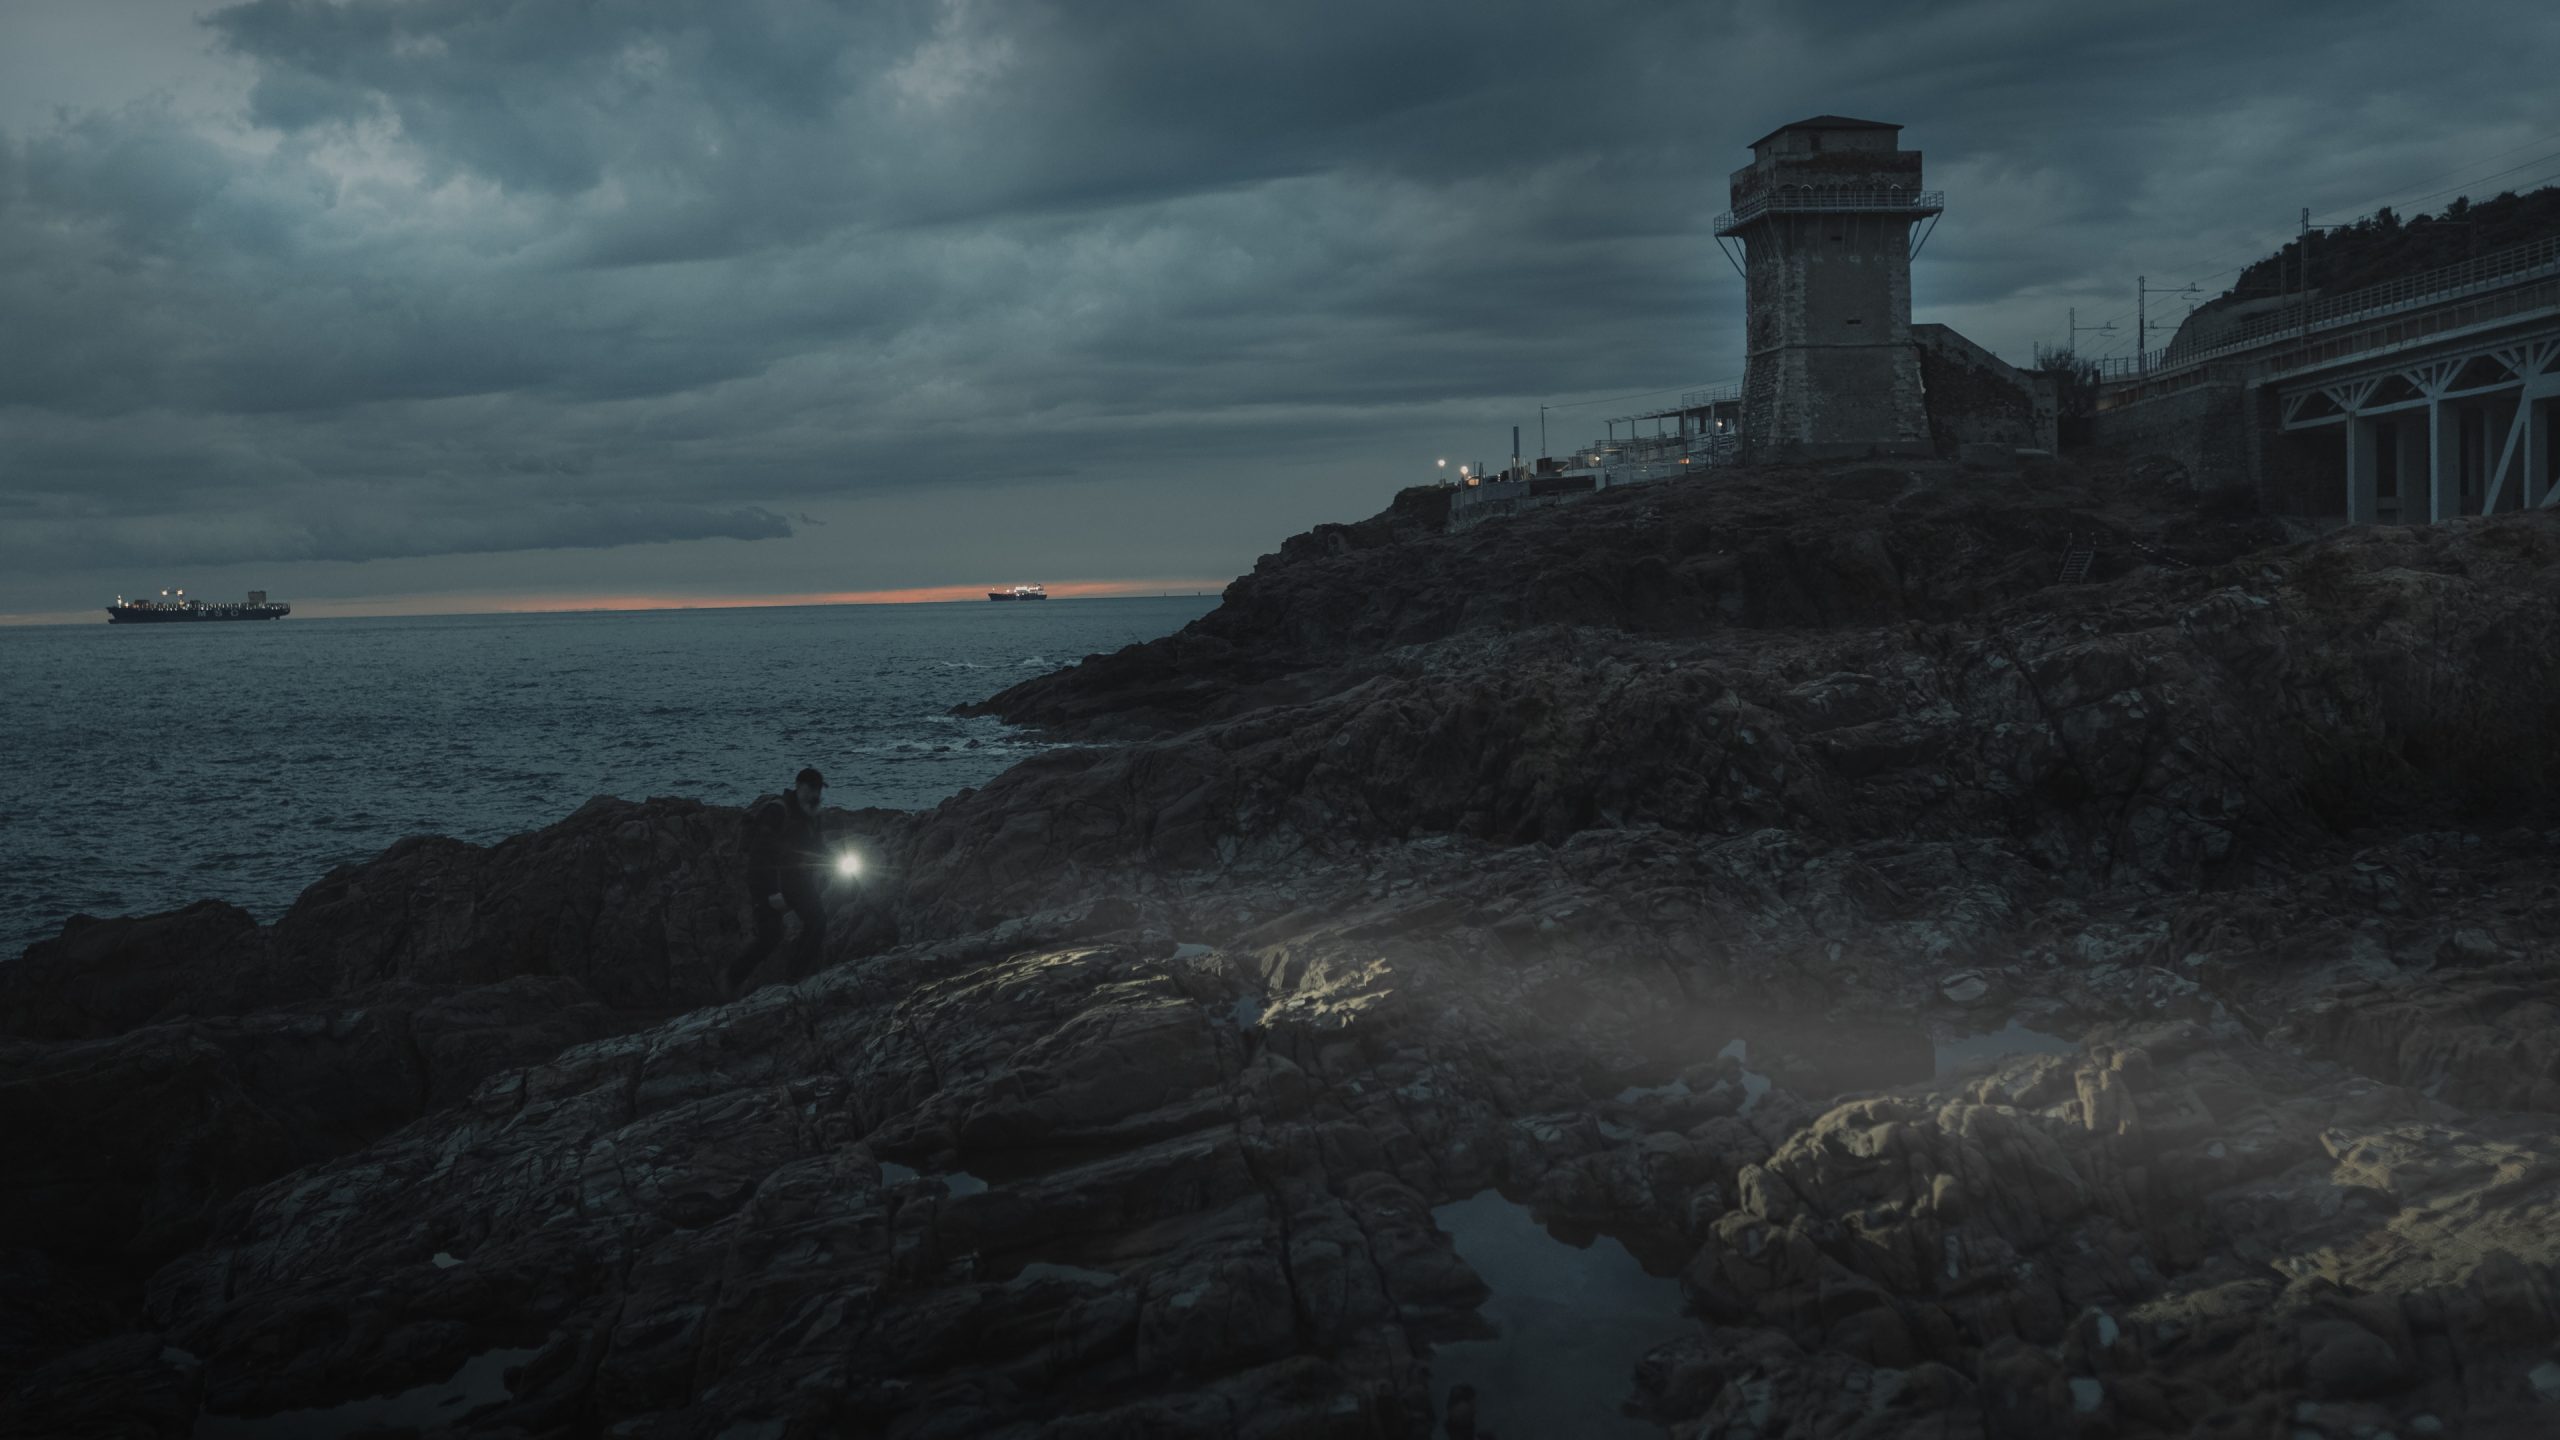
In the dark, a single flashlight can replace several light sources at once: a spot light, a flood light, and a work light. The key is to focus not on the number of lumens or beam distance, but on the quality of the beam and the flexibility of control.
You need stability, predictable color, intuitive modes, and the ability to quickly switch the beam from focused to soft.
Below, we’ll break down the factors that photographers and videographers should consider first and foremost:
Attachments and diffusers help expand the flashlight’s capabilities, adding character to the light for video recording. A silicone cap widens the illuminated area and softens shadows. While this accessory may visually reduce the beam’s brightness, it improves image quality.
Color filters let you set the mood and separate scenes:
The logic is very simple: first, achieve the desired light shape (hard or soft, directional or flood), and then add color. This way, the shot will turn out cleaner and require less post-processing at the end.